Table of Contents
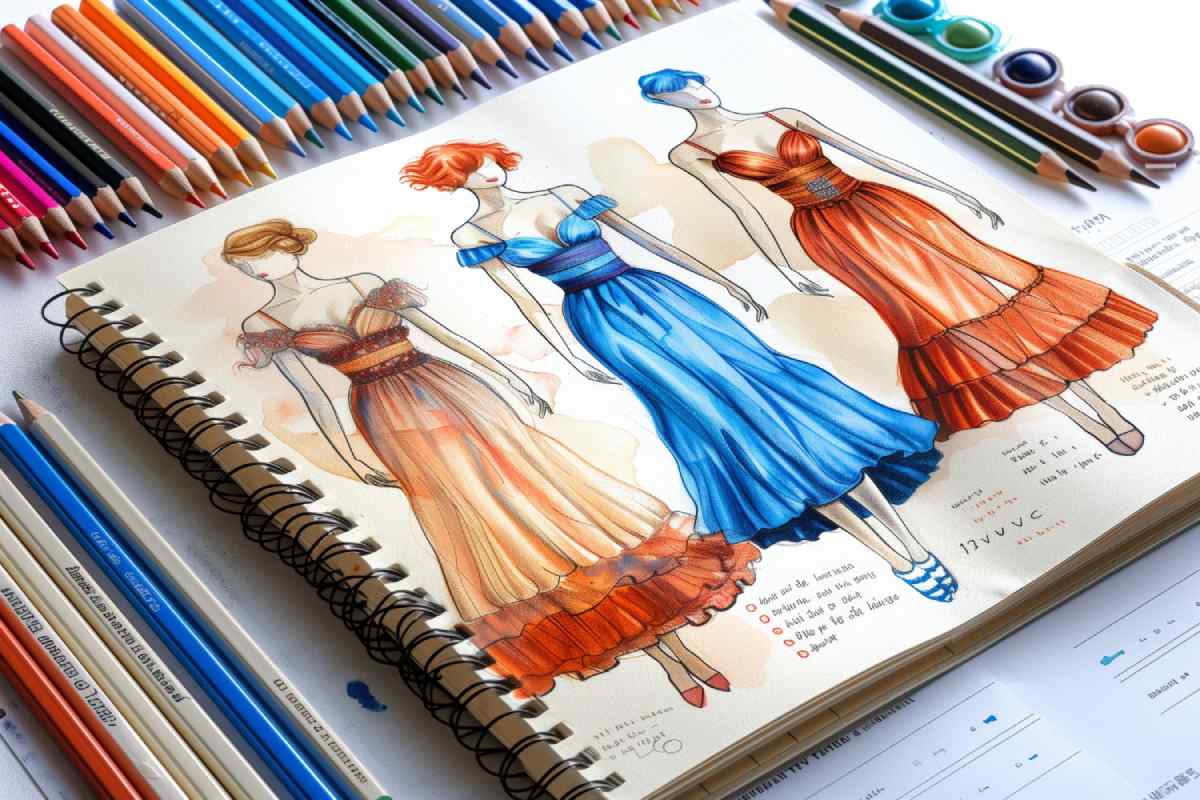
Fashion Dress Drawing
Fashion Dress Drawing illustration is the art of drawing, sketching, or painting fashion concepts and design ideas used to visualize a garment before it is produced. Fashion illustration is more stylistic.
The fashion dress drawing is an arrangement of design elements and art principles such as line, shape, color, fabric, texture, balance, proportion, rhythm, and emphasis that create a visual image. For example: to create a new version or style for the garment
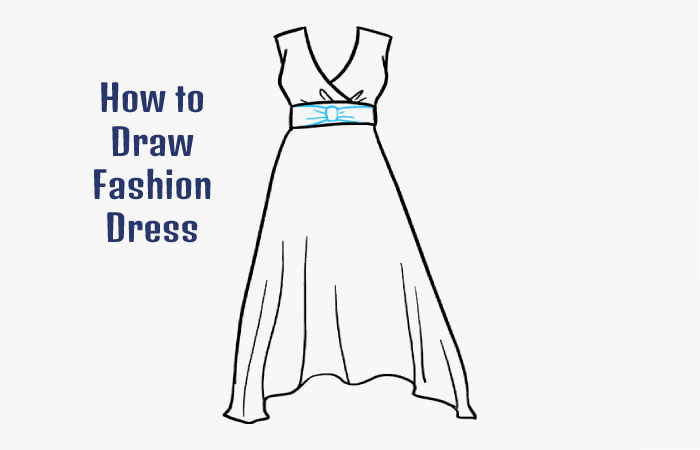
How to Draw Fashion Dress
In the fashion world, new designs come in the form of sketches made by hand before being cut and sewn. First, draw an illustration, the model figure that will serve as the basis for the sketch. The goal isn’t to draw a realistic-looking character but a blank canvas to show illustrations of dresses, skirts, blouses, accessories, and the rest of their creations. Adding color and details like ruffles, stitching and buttons will help bring your ideas to life.
Starting Your Sketch
Gather Materials: Choose a pencil with a hard lead (H-pencils are best) that makes light, sketchy marks easy to erase. The prints made with these pens also don’t mark the paper, which is helpful if you want to add color to the image. A good class eraser and thick paper are also essential materials for your sketch to look professional.
- If you don’t have the right pen, you can sketch with a number 2. But, again, remember to make very light marks instead of pressing solid.
- It is not suitable to draw with a pen because you cannot erase it.
- You will also essential colored markers, inks, or paints to illustrate your clothing designs.
Consider Alternative Methods of Creating a Sketch: It’s nice to be able to draw your sketches as it allows you to create a model with exactly the proportions you want. However, if you want to start drawing your clothing designs straight away, there are a few shortcuts you can take:
- Download one online, where you can find them in various shapes and sizes. For example, you can download a sketch in the form of a child, a man, a petite woman, etc.
- Create a sketch by tracing the outline of a model from a magazine ad or other image. Place a tracing paper over the desired model and create a slight contour.
Decide on a Pose for Your Sketches: The model for your design, called a sketch, should be drawn in a pose that best depicts the objects. For example, you can view the model walking, sitting, leaning, or any other position. As a beginner, you might want to start with the most common pose, a catwalk sketch showing a model standing or walking on a catwalk. This is the easiest to draw and allows you to illustrate all your designs in full vision.
- Since you want to illustrate your strategies to make them look professional and attractive, it’s important to model them in well-proportioned and well-drawn sketches.
- Many fashion artists practice drawing hundreds of sketches to improve their ability to create a variety of poses.
Draw a Sketch
The Balance Line: This will be the first line of your sketch and represent your model’s center of gravity. Draw it along the spine of your graphic from the top of your head to the tips of your toes. Now draw an oval to characterize the head. This is the base of your illustration; from there, you can create a proportional drawing. You can think of sketches as the frame of the model.
- Balance line need to be a straight vertical line if you want the model to pose in a tilted position. For example, if you want the model to pose with her hips tilted slightly to the left, draw a straight line down the center of the page. If you like this line to extend from the model’s head to the floor, it’s standing on.
- Remember that a proportional model is not required when designing clothing, as the dress is being shown, not your character drawing skills. So do not worry too much about making an accurate-looking model or adding features to the face.
Start Drawing the Pelvic Area First: Start Drawing a square with equal sides on the balance line just below the center where the pelvis sits naturally on the body. Adjust the size of the court to the desired width of your model. A slimmer model would have a smaller square width than a plus-size model.
- Keeping the pose you want in mind, tilt that pelvic square to the left or right. For example, if you need your model’s hips to pitch to the left, list the court slightly to the left. On the other hand, if you hope for a regular foot model, draw the square upright with no left or right angles.
Draw the Torso and Shoulders: Start Extending the torso lines from the two corners of the pelvic square up. The upper body should straighten up, bending in the middle at the waist and straightening again at the shoulder. As with a natural human body, the shoulders should be the same width as the hips or the top of the pelvic cage.
- When you’re done, the torso should look like a regular torso you would see on a body. Look at pictures of models in magazines or advertisements for reference. Note that the waist is smaller than the lower body and hips. The torso should be about two heads long.
- It is common to incline the shoulders and hips in opposite directions, in contrapposto or contra position. This creates the impression of movement. Draw the waist as a horizontal line shorter than the lines for the shoulders and hips.
- Pay attention to the flexion lines (the curvature of the rib cage, etc.), as these angles and lines are critical to creating a character that doesn’t appear to have dislocated body parts.
Draw the Neck and Head: The model’s neck should be one-third the shoulder width and half the front length. After drawing this, draw the head, which should be proportionate to the body. The larger the head, the more youthful or younger the model appears.
- You can delete the original oval you drew to represent the head.
- Draw the head, so it looks natural in your chosen pose. Then, you can easily tilt it up or down, left or right.
Fill in the Legs: The legs must be the longest part of the body, the length of about four heads. The portions are separated into two parts, the thighs (from the bottom of the pelvic cage to the top of the knees) and the calves (from the bottom of the knees to the beginning of the ankles). Remember that fashion artists often exaggerate a model’s height by making her legs longer than her torso.
- The top of each thigh must be about the same width as your head. Next, reduce the width of each leg from thigh to knee. When you reach the knee, the leg should be one-third the width of the most significant part of the thigh.
- To draw the calves, cut down to the ankles. Each ankle should be about a quarter of the width of your head.
Finish with Feet and Arms: The feet are relatively narrow. Draw them as elongated triangles about the same length as the head. Like the legs, build the components and taper towards the wrists. Make them longer with the torso than a natural person’s arms, giving a slimmer impression. Add the hands and fingers last.
Drawing Clothes and Accessories
Illustrate Your Original Design: Think about the look you are trying to create and detail it. For example, if you are crafting a dress, add patterns, ruffles, text, bows, etc., to create a beautiful piece.
- Focus on the unique elements of your design and add the appropriate accessories to make the style you are aiming for clear. Then, when you need new ideas or don’t know where to start, look for fashion trends online or in magazines for inspiration.
Drawing Clothes Boldly: Since the purpose of fashion is to show your design ideas, use a bolder hand when removing clothes. Draw the clothes to appear to be hanging down from the sketch realistically. There should be folds around the elbows and waist and near the shoulders, ankles, and wrists. Imagine a person hanging clothes and reproducing this in your model.
- Remember that different fabrics and structures fit the body in different ways. If the cloth is thin and silky, it will lay on the body and flow away, almost billowing. When the material is thick, like denim or wool, it becomes boxier and shows less body shape (think denim jackets).
- Try to depict the texture of the fabric you’re drawing, whether smooth, thick, stiff, or soft. Then, add details like sequins and buttons to make the drawing look more realistic.
Learn how to Draw Folds, Wrinkles, and Pleats: Use different types of lines to create different folds in the fabric you are drawing. In addition, knowing how to remove folds, folds, and wrinkles can help illustrate the garment’s structure.
- Folds can be drawn with loose wavy lines.
- Use circular patterns to show the folds.
- Take a straight edge to draw exact folds.
Illustrate Patterns and Prints: If your design includes patterned or patterned fabric, it’s important to illustrate precisely how it will look on a mockup. Begin by sketching the patterned garment, e.g., B., a skirt or a blouse. Next, divide it into a grid with different sections. Fill in the areas one at a time with the pattern on the fabric.
- Notice how creases, folds, and creases change the appearance of a pattern. It may need to be bent or cut in certain places to make it look accurate.
- Take the time to draw the pattern in detail and ensure it looks the same throughout the grid.
- Finish the drawing with shading, ink, and color – use thick black ink or paint the lines you want to keep. You can erase the body modeling lines and any stray pencil marks at this point. Finally, carefully color the clothes with the shades you want your designs to have.
You can Color the Clothes with Markers, Ink, or Paint: Mix colors and use a variety of shades to illustrate your designs.
- Imagine the design moving towards you in the spotlight on a catwalk while you work on shading and textures. Deeper creases in a fabric will result in darker shades of the color you are using. Conversely, when light hits the material, the colors should appear lighter.
- Adding features like hair, sunglasses, and makeup are beautiful finishing touches that bring your fashion sketch to life.
Consider Making Plans: In addition to a fashion illustration, you may want to create a plan sketch. For example, this is an illustration of his clothing design showing the flat outline of the garment as if it were on a flat surface. It’s helpful for people looking at the plan to see the matte version and how it would look if modeled on a body.
- Floors must be drawn to scale. Therefore, strive to create illustrations that look as accurate as possible.
- You should also add a back view of your floors, especially if the back of the design has unique details.
Conclusion
In the fashion world, designers believe in bringing their ideas to life with the help of drawings. A fashion sketch is the first step in creating beautifully designed garments. Fashion design drawings play an essential role in the design and apparel industry. Designers use these drawings to communicate with other people about their ideas. These drawings are the first sketch, which is then completed by comparing different colors and patterns.
As you can see, fashion design drawings introduce a person to the idea of what an outfit looks like once it’s been done on paper. These drawings are essential for presenting your ideas to the world. If you are an aspiring fashion designer, take the time to understand the value of drawing skills in the fashion world.